All boat owners have been there. Something stops working and you tear apart your deck trying to figure out which gauge or instrument is the source of the problem. We will guide you on how to test your boat gauge so that you can isolate the problem and quickly order a new part. While these descriptions are written with KUS products in mind, you should find the process is similar for other brands and related products. We will guide you through assessing each one and then finding the appropriate KUS NMEA 2000 certified replacement part.
How to Test Your KUS Gauges
If you are at all unsure of your capabilities to perform this function safely, have a marine repair facility or boat dealership service department perform this function.
Analog & Digital
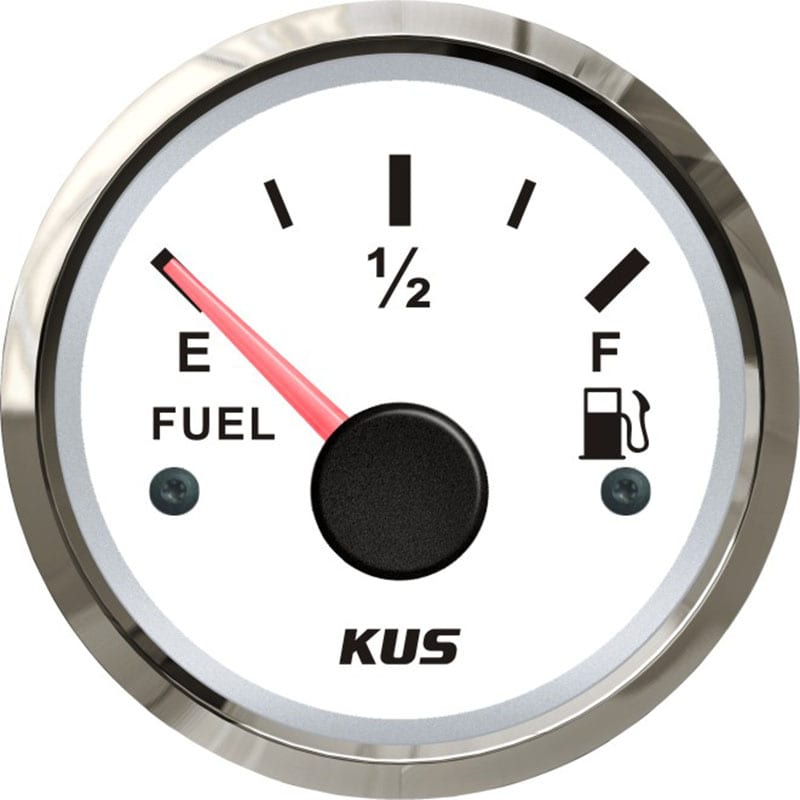
Single Tank Gauge
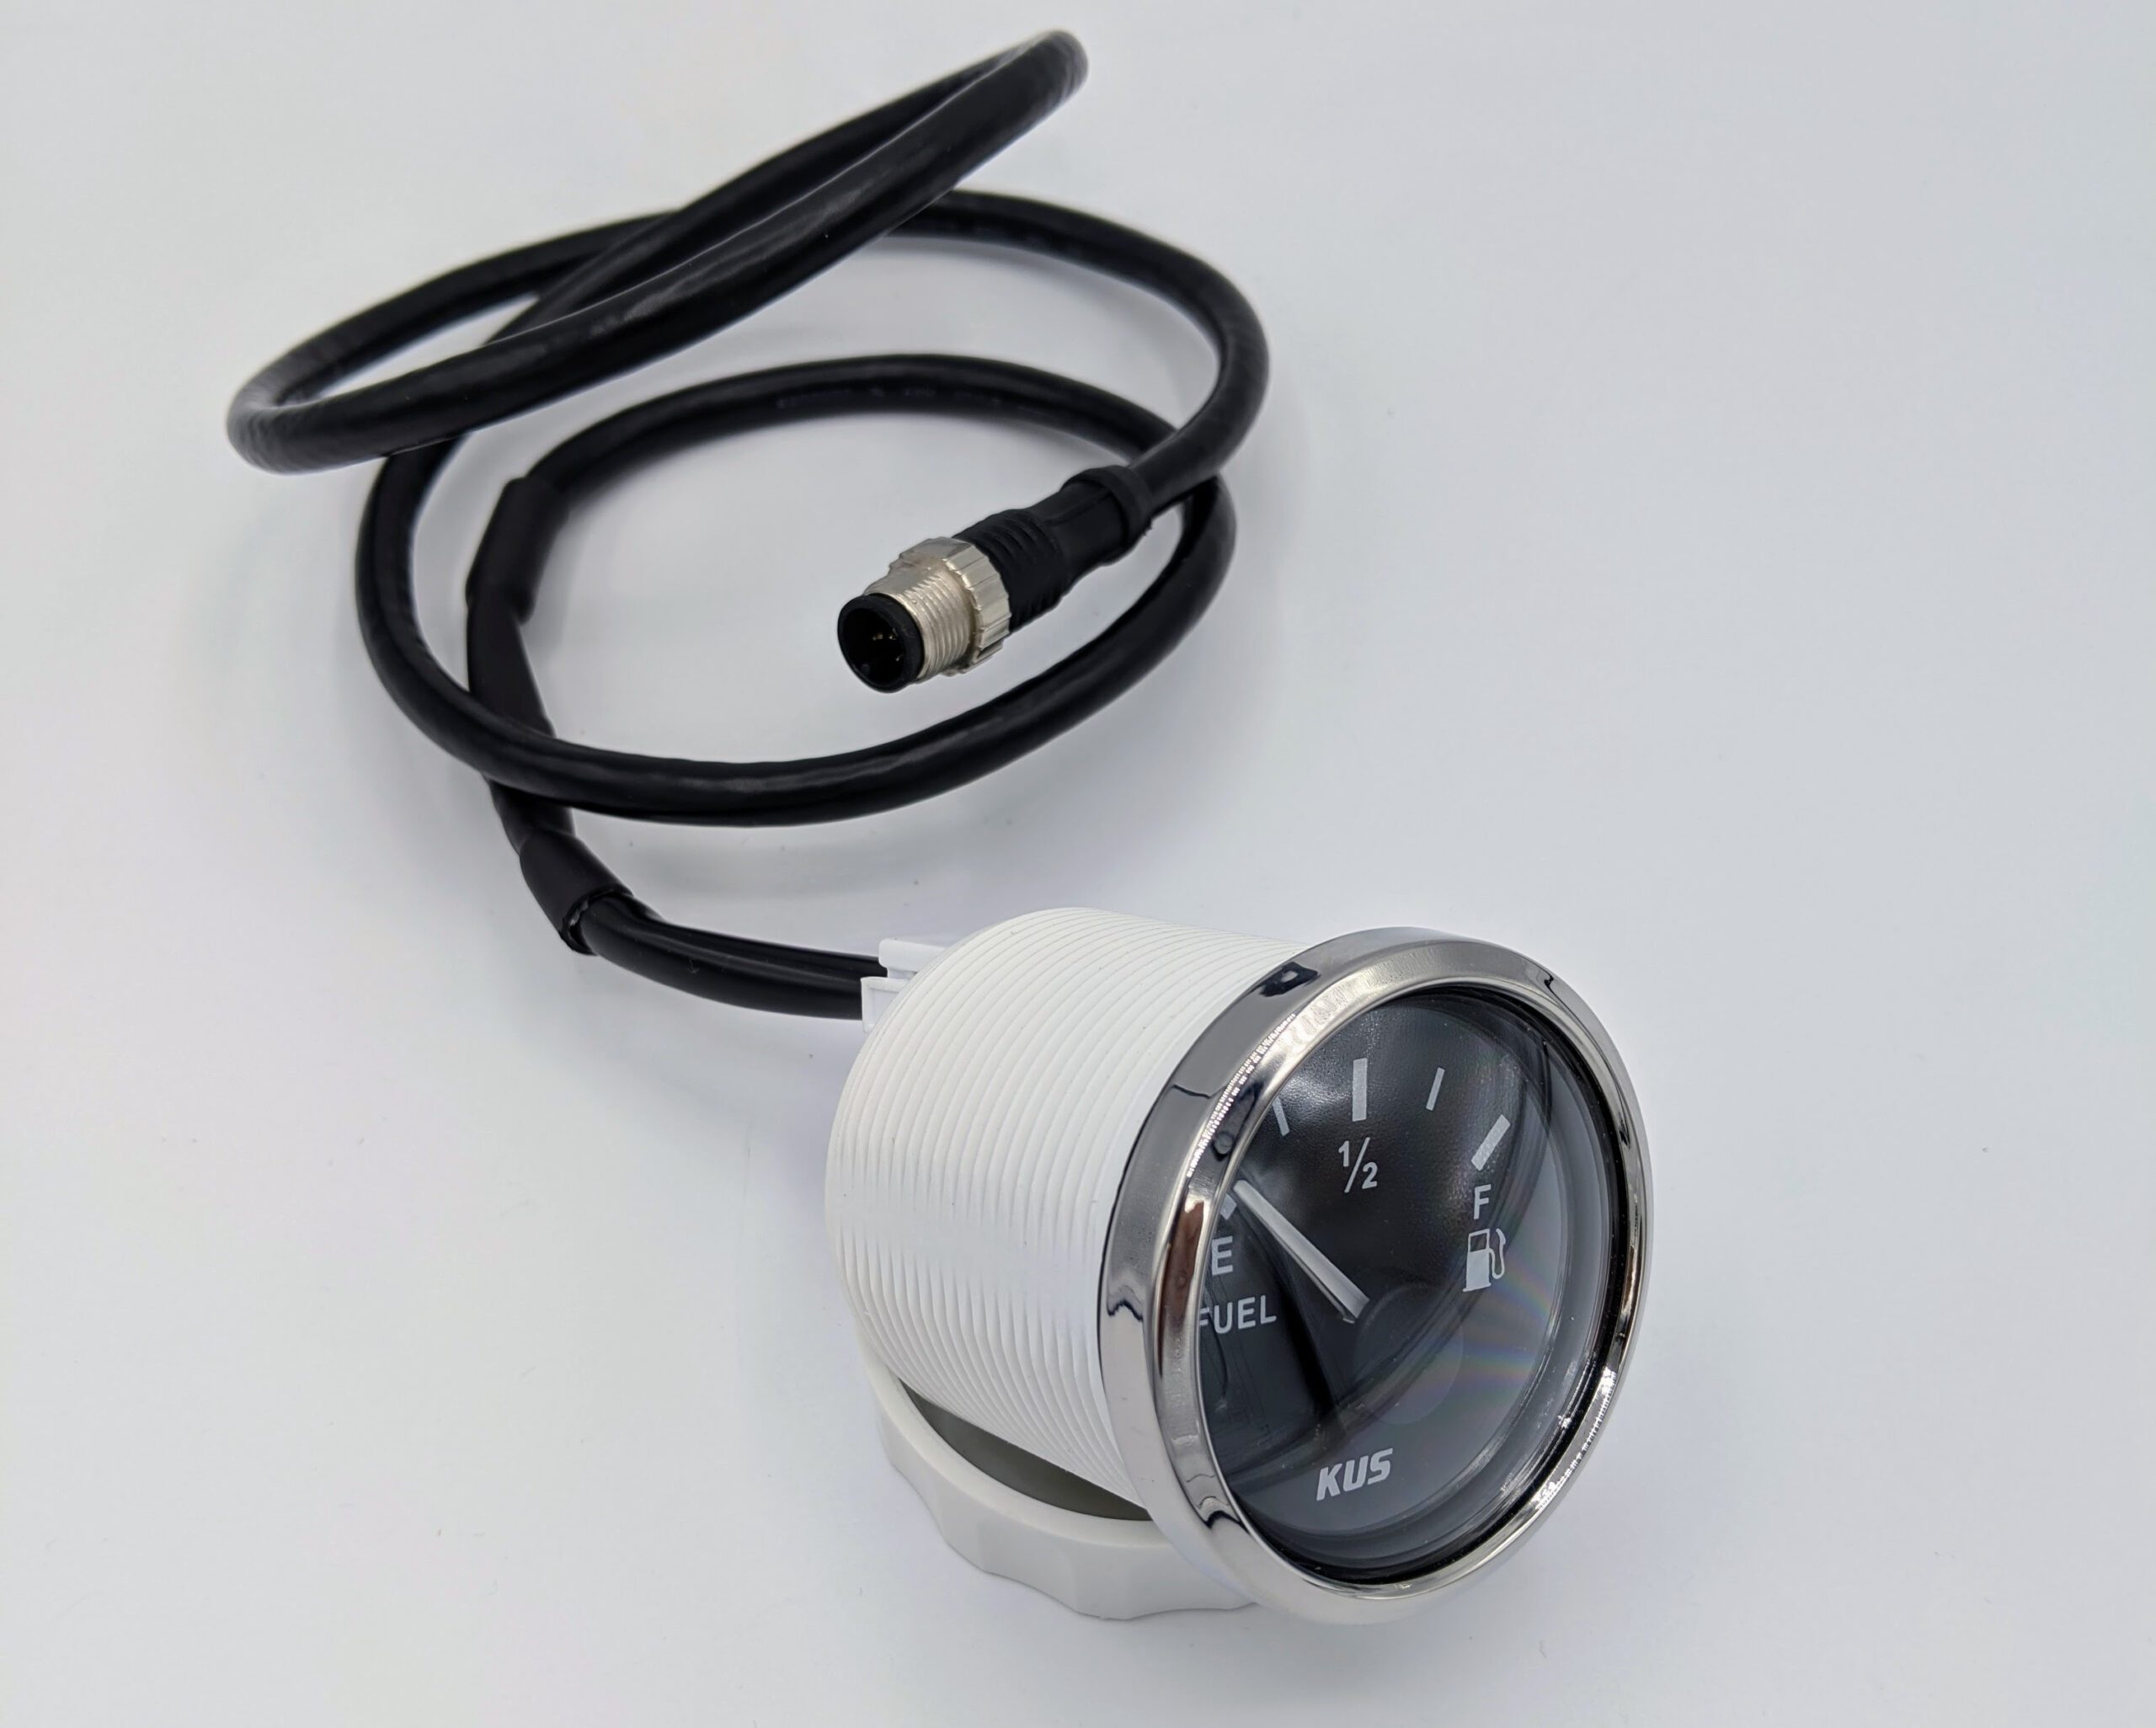
- To assess your boat’s fuel gauge, make sure you have 12 Volts DC going to your gauge (red wire), and that your gauge is grounded (blue wire). One or both light options (yellow and orange wires) should be connected to power as well (for gauge specific wiring instructions please see the product data sheets).
- To check the gauge operation/movement, in all cases:
- Turn off power to the gauge.
- Disconnect the black wire to the sending unit, at the gauge end. You may have to cut the wire and reconnect it later. Leave enough wire at the gauge end to work with.
- With the black wire disconnected, turn the 12 Volt DC power to the gauge on.
- The gauge needle should perform the following:
- On the American version of the gauge (240-30 ohms), the gauge needle will stay at empty. Ground the black wire (at the gauge end), and the needle will go to full.
- On the European version of the gauge (0-180 ohms), the gauge needle will go to full. Ground the black wire (at the gauge end), and the needle will go to empty.
Note On the analog & digital gauge there is one black wire, this wire is spliced together with the sending unit black wire
If the above-mentioned test is successful, there is nothing wrong with the gauge. If not, you need to replace your gauge.
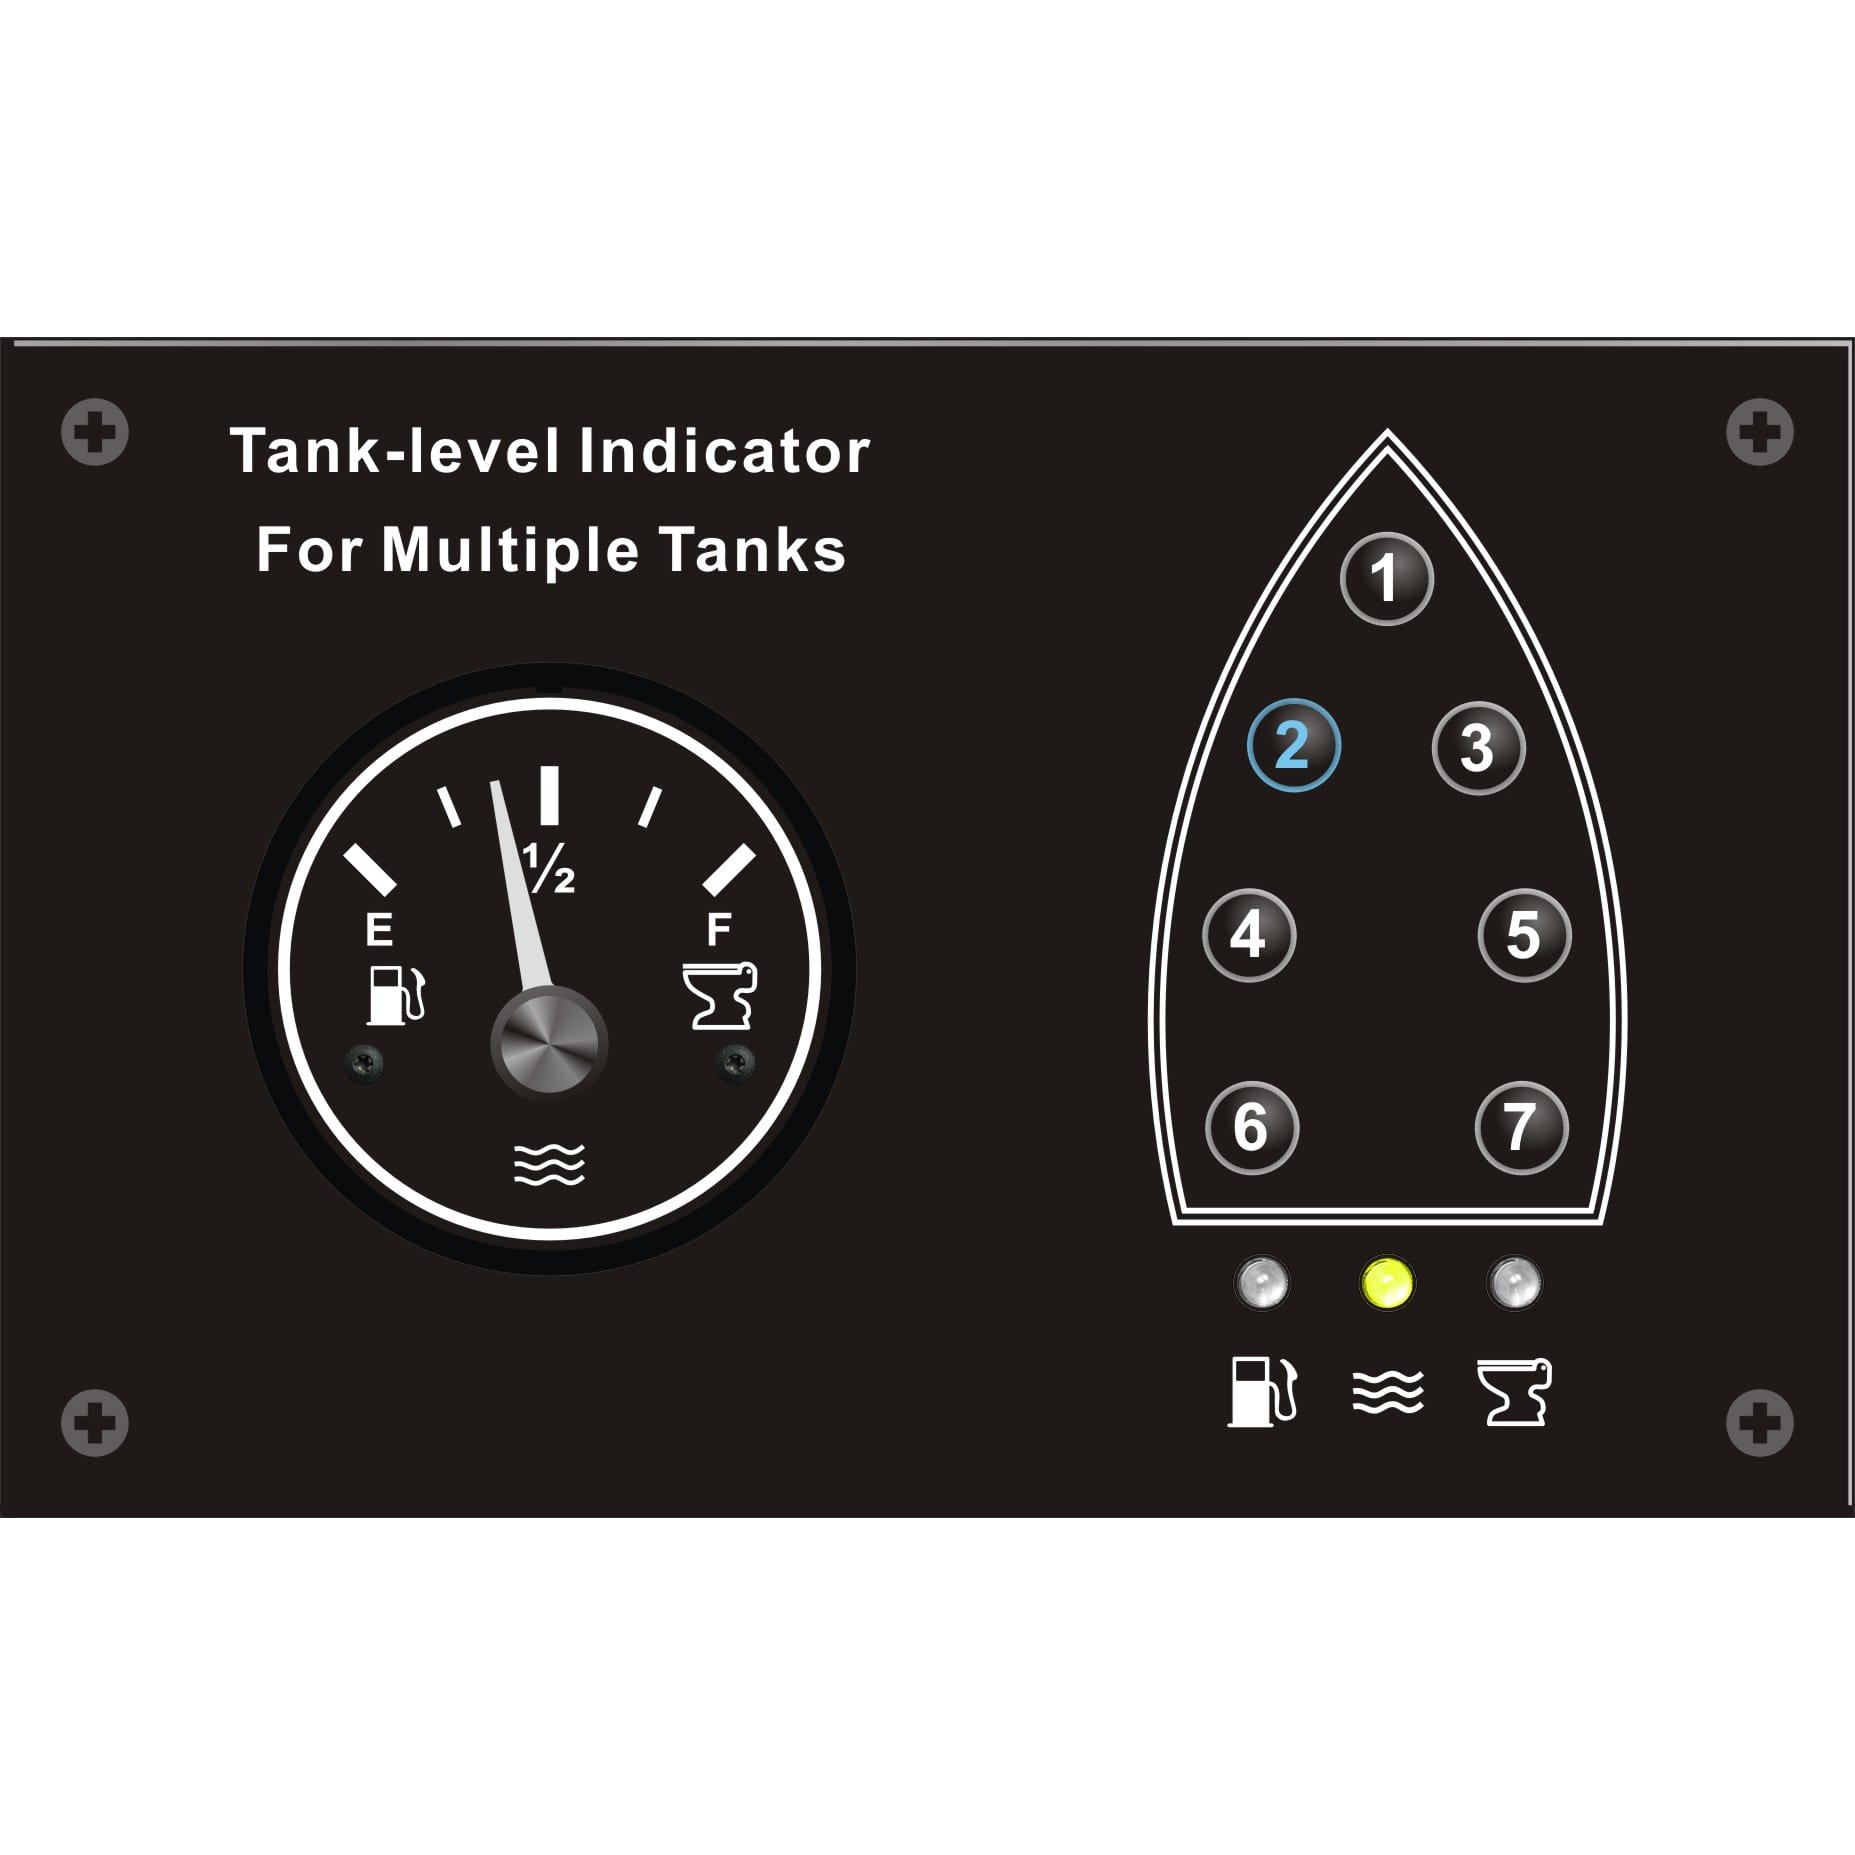
Multi-tank Gauge
CP2 (2-Tank)
The wiring for the two-tank gauge panel is identical to the single tank gauge set-up described above, except that there are two black wires, one for each sending unit.
Check all the solder connections on the panel switch. This is a three-position toggle switch. Ensure that there is a solid click to each of the three stations.
Following the steps above, check your gauge operation and movement.
CP7-B (7-Tank)
On the back of the seven-tank gauge panel, five wires come from the back of the gauge — black, blue, red, yellow and orange — to the top of the PCB board. Do NOT tamper with these wires.
The red wire that comes out from the bottom of the PCB board (between the back side of the gauge panel, and bottom side of the PCB board) should go to a 12 Volt DC power source.
The blue wire that comes out from the bottom of the PCB board (same area as he red), should go to the ground
The seven black wires on the back of the panel each correspond to a separate fuel tank. The black wire from each individual sending unit should be hooked to one of these wires. It is not necessary to use all seven wires as the seven-tank panel will operate properly with less than the full complement of tanks attached. Please see the CP7-B installation guide for more information on gauge connection.
Following the steps above, check your gauge operation and movement.
Help! My gauge is reading backwards!
If you’ve recently replaced either your gauge or sending unit, and the gauge is reading backwards, (i.e empty is full and full is empty), it is likely that your ohms range does not match. An American standard gauge (which operates at 240 ohms @ empty, to 30 ohms @ full), connected to a European standard sending unit (which operates with 0 ohms @ empty, and 180 ohms @ full), or vice versa, would cause this problem.
There are a few solutions for this:
- Replace either the gauge or the sender with a matching ohms unit.
- Purchase a resistance resistor which will allow both of your units to work together.
If you have a multi-tank gauge, and the gauge/sender combination works in any of the other tank positions, isolate the tank that is not working and test the sending unit (to check the sending unit, see Troubleshooting Your Boat’s Fuel Level Sender), or the wiring connection.
If you are having a problem with your NMEA 2000 gauge not reading your unit please ensure that you have the correct output needed for your system. Using a sending unit with a resistive/analog output requires a NMEA 2000 Converter (NKC42 & NKC43) to work with your gauge system.
Note: Gauge reading backwards doesn’t apply to digital gauges; signal for NMEA 2000 automatically detects
Get to Know KUS Boat Gauges
Reliable gauges can warn you in advance of potentially expensive engine repairs, extending the life of your boat’s engine. Accuracy also lets you track and improve performance. It’s important to use gauges from a manufacturer you trust. KUS is one of the world’s leading manufacturers of liquid level senders and gauge instrumentation for the marine industry, as well as other industries. We understand the importance of getting accurate and reliable performance information when out on the water.
Analog & Digital Boat Gauges
Boat builders and owners like our line of analog boat gauges, the KUS Sea V Series, for its simplicity and wide variety of gauge options. The Sea V series features an IP67 rating allowing the gauge to work up to one meter underwater, double layer reinforced anti-fog glass to prevent fogging in humid conditions, easy installation with a multi-plug socket connection design, and your choice of red or yellow backlight.
While some boat enthusiasts prefer the classic look and feel of analog gauges, digital gauges are becoming more popular. On the digital side, the KUS Sea N Series offers easy plug-and-play installation to the NMEA 2000 network while maintaining a clean classic design. The Sea N series consists of seven single function gauges, and an integrated tachometer that also shows real time performance data, such as battery status, engine temperature, oil pressure, and fuel consumption rate.
- The KMG Touch/Button gauge is a multifunctional digital instrument developed specifically for boats, yachts, and marine applications. The instrument integrates major functions such as fuel level, oil pressure, tachometer, speedometer, and oil and water temperature all in one device.
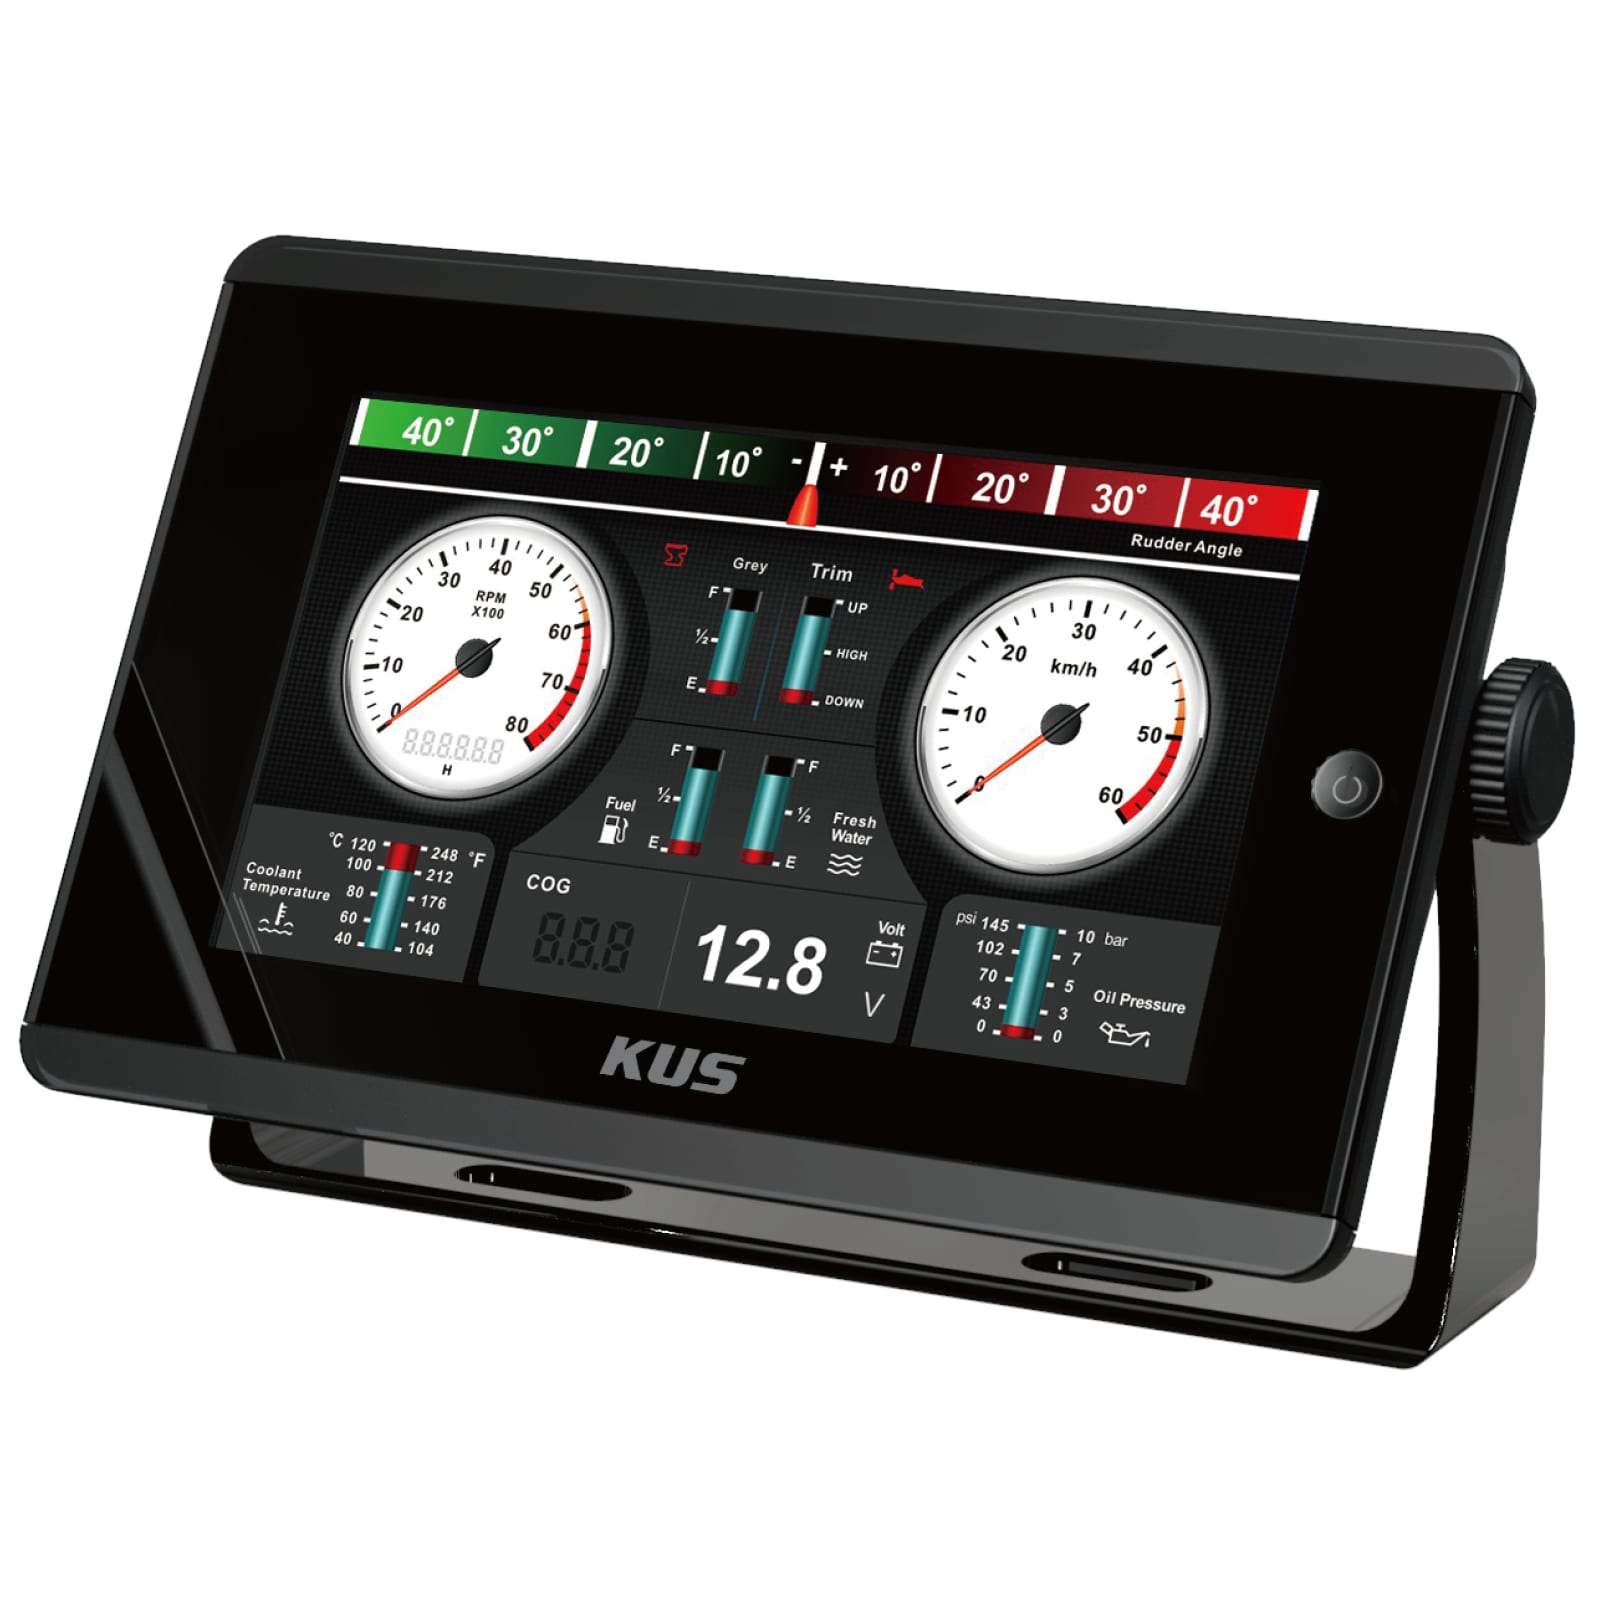
- The KMB-70 & 43 Series is an Integrated Data Monitor with an advanced TFT (Thin Film Transistor) screen. The KMB-70 & 43 Series displays real time network information including engine output, fluid levels, and speed. KUS can also customize the unit to meet customer requirements. The unit is compatible with J1939 and NMEA 2000 systems and is a perfect fit for marine applications that monitor information
- The KMB-43 is rather small in size (about 4.3 inches to be exact) has a lower resolution (480 x 272), and has to be installed inside the boat gauge panel.
- The KMB-70 is bigger in size (about 7.0 inches to be exact, has a higher resolution (800 x 480), and doesn’t need to be installed inside the boat panel since it has a holder on the back of the monitor; just place it on the boat’s surface.
The KMB-43 is button while the KMB-70 is touch based, the interface of the KMB-70 is more user friendly by having the ability to display more information at any given time due in part to its larger screen size.
Multi-tank Boat Gauge Panels
A boat gauge panel can improve the look of your dashboard and your ease of use, letting you monitor multiple tank levels without the need of multiple gauges. KUS offers two types of panels.
Contact KUS to Troubleshoot Your Boat Gauges
If you need additional support troubleshooting your KUS gauge or have questions about our gauge products feel free to contact our customer service team below. Get in touch with us today!


